らいふうっどの閑話休題

興味のあることをゆる~く書いていく

Typedoc starting with Angular project

ANGULAR x TYPEDOC

Typedoc starting with Angular project
Angular プロジェクトで始めるtypedoc


きっかけ / Trigger

日常の業務で、プログラム仕様書を作成する時間を効率良く確保するために typedocの導入を決めました

導入 / Introduction
事前準備環境

今回のバージョンは、下記の通りです。

  • node v10.14.1
  • npm v6.5.0
  • Angular CLI v6.0.0
  • typescript ~v2.7.2
  • typedoc ~v0.12.0


angular プロジェクトの作成 / create angular project

下記コマンドでプロジェクトを作成します / Create a project with the following command

    
      ➜  $ ng new typedoc-sample --style=scss // スタイルシートは、scss


typedoc のインストール / typedoc installation

下記コマンドでtypedocをインストールします / Install typedoc with the following command

    
      ➜  $ npm install –save-dev typedoc


typedoc.json 実装 / typedoc.json implementation

typedoc.jsonを下記内容で作成します / Create typedoc.json with the following contents

    
      {
        "mode": "modules",
        "out": "docs",  <== ドキュメント出力フォルダ
        "theme": "default",
        "ignoreCompilerErrors": "true",
        "experimentalDecorators": "true",
        "emitDecoratorMetadata": "true",
        "target": "ES5",
        "moduleResolution": "node",
        "preserveConstEnums": "true",
        "stripInternal": "true",
        "suppressExcessPropertyErrors": "true",
        "suppressImplicitAnyIndexErrors": "true",
        "module": "commonjs"
      }


typedoc スクリプト実装 / typedoc script implementation

package.jsonに下記内容のスクリプトに追記します / Add the script below to package.json 参考: https://typedoc.org/api/

    
      "docs": "npm run typedoc -- --options typedoc.json --mode file --exclude '**/*.spec.ts' ./src/",
      "typedoc": "typedoc",


typedoc コメント実装 / typedoc comment implementation

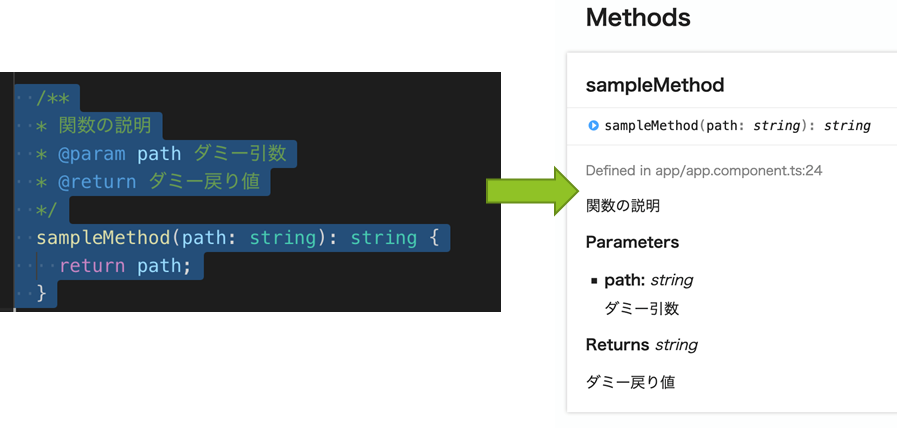
typedocフォーマットを関数に記載します / Describe typedoc format in function
参考: https://typedoc.org/api/

    
      /**
      * 関数の説明
      * @param path ダミー引数
      * @return ダミー戻り値
      */
      sampleMethod(path: string): string {
        return path;
      }


typedoc 生成 / typedoc generate

typedoc を生成します / generate typedoc

    
      $ npm run docs
      > typedoc-sample@0.0.0 docs
      > npm run typedoc -- --options typedoc.json --mode file --exclude '**/*.spec.ts' ./src/

      > typedoc-sample@0.0.0 typedoc /work/typedoc-sample
      > typedoc "--options" "typedoc.json" "--mode" "file" "--exclude" "**/*.spec.ts" "./src/"

      Using TypeScript 3.0.1 from /typedoc-sample/node_modules/typedoc/node_modules/typescript/lib
      Rendering [========================================] 100% Documentation

      generated at /typedoc-sample/docs


Github へ push / push to Github

Github へ pushします / push to Github

    
      ➜  $ git push origin master


Github Page の設定 / Github Page Settings

リポジトリ => Settings => GitHub Pages
repository => Settings => GitHub Pages

 setting


公開結果 / Public results

公開ページ / Public Page


github pages

生成ドキュメント / Generated document


Generated document

サンプルコード / sample code


sample code

サンプルページ / sample page


sample page

For your reference / 参考文献

Protractor Setting for Internet Explorer 11

Overview / 概要

this blog explain to Protractor setting for Internet Explorer 11. この記事は、Internet Explorer 11 用の Protractor の設定を説明します。

JDK setting / JDK 設定
  1. JDK Download / JDK ダウンロード f:id:ic_lifewood:20190501030756p:plain
  2. JDK install
  3. setting for Windows Environment Variable. Windows 環境変数の設定
    1. control panel open. コントロールパネルを開きます
      f:id:ic_lifewood:20190501034336p:plain
    2. System and Security click. システムとセキュリティをクリックします
      f:id:ic_lifewood:20190501031525p:plain
    3. System click. システムをクリックします
      f:id:ic_lifewood:20190501033320p:plain
    4. Advanced system setting click. システムの詳細設定をクリックします
      f:id:ic_lifewood:20190501033415p:plain
    5. Environment variable click. 環境変数をクリックします
      f:id:ic_lifewood:20190501033437p:plain
    6. setting to System variables frame システムの環境変数枠の設定
      f:id:ic_lifewood:20190501033503p:plain
      click New button. 新規ボタンをクリックします
      f:id:ic_lifewood:20190501033523p:plain
      1. type to Variable name: JAVA_HOME
      2. type to Variable value: C:\Program Files\Java\jdk1.8.0_161
      3. click OK button. OK ボタンをクリックします
    7. editing to System variables frame システムの環境変数枠の編集
      f:id:ic_lifewood:20190501033543p:plain
      path click.path 行をクリックします
      1. click Edit button. 編集ボタンをクリックします
      2. click New button. 新規ボタンをクリックします
      3. input to cursor prompt. C:\Program Files\Java\jdk1.8.0_161\bin
      4. click OK button. OK ボタンをクリックします
    8. click OK button. OK ボタンをクリックします
    9. Environment variable Window close. 環境変数ウィンドウを閉じます
  4. For your reference / 参考文献
    JDK Installation for Microsoft Windows
Windows Registory setting / Windows レジストリ設定
  1. Start regedit.exe . regedit.exe 起動します
    f:id:ic_lifewood:20190501033611p:plain
  2. Registory key search to following this. 以下のレジストリのキーを検索します
    f:id:ic_lifewood:20190501033633p:plain
    1. For 32-bit Windows / Windwos 32 bit 版
      HKEY_LOCAL_MACHINE\SOFTWARE\Microsoft\Internet Explorer\Main\FeatureControl\FEATURE_BFCACHE
    2. For 64-bit Windows / Windwos 64 bit 版
      HKEY_LOCAL_MACHINE\SOFTWARE\Wow6432Node\Microsoft\Internet Explorer\Main\FeatureControl\FEATURE_BFCACHE
  3. add Registory key. レジストリのキーを追加します
    f:id:ic_lifewood:20190501033713p:plain
    Value name: iexplorer.exe
    Value data: 0
  4. End regedit.exe .
    regedit.exe 終了します
  5. For your reference / 参考文献
    1. InternetExplorerDriver
    2. Protractor test in IE
Internet Explorer 11 Browser setting / Internet Explorer 11 ブラウザ設定
  1. Start Internet Explorer 11. Internet Explorer 11 を起動します
  2. tools click. ツール をクリックします
  3. Zoom rate changed to 100% 拡大率100% に変更します
    f:id:ic_lifewood:20190501033800p:plain
  4. tools click. ツール をクリックします
  5. internet options click. インターネットオプション をクリックします
    f:id:ic_lifewood:20190501033821p:plain
  6. In General tab 全般 タブ
    f:id:ic_lifewood:20190501033842p:plain
    1. checkbox turn on チェックボックスon にします
      1. Delete browsing history on exit 終了時に閲覧履歴を削除する
  7. In Security tab セキュリティ タブ
    1. Disable protected mode for all zones 全てのゾーンで保護無効にします。
      1. Internet / インターネット
        f:id:ic_lifewood:20190501033907p:plain
      2. Local internet / ローカルイントラネット
        f:id:ic_lifewood:20190501033928p:plain
      3. Trust sites / 信頼済みのサイト
        f:id:ic_lifewood:20190501033947p:plain
      4. Restricted sites / 制限付きサイト
        f:id:ic_lifewood:20190501034010p:plain
  8. In Privacy tab プライバシー タブ
    f:id:ic_lifewood:20190501034027p:plain
    1. checkbox turn off PopUp Blocker
      ポップアップブロックのチェックボックスoff にします
  9. In Advanced tab
    詳細設定 タブ
    1. checkbox turn off
      チェックボックスoff にします
      f:id:ic_lifewood:20190501034051p:plain
      f:id:ic_lifewood:20190501034114p:plain
      1. Check for publiser's certificate revoctation
        発行元の証明書失効を確認する
      2. Check for Server certificate revoctation*
        サーバーの証明書失効を確認する*
      3. Check for Signature on downloaded programs
        ダウンロードしたプログラムの署名を確認する
      4. Warn about certificate address mismatch*
        証明書のアドレスの不一致について警告する*
      5. Warn if POST submittal is redirected to a zone that does not permit posts
        POST送信がPOSTを許可しないゾーンにリダイレクトされた場合に警告する
    2. checkbox turn on
      チェックボックスon にします
      1. Empty Temporary Internet files folder when browser is closed.
        ブラウザが閉じたとき、[Temporary Internet Files] フォルダを空にする
  10. For your reference / 参考文献
    1. Protractor test in IE
Internet Explorer Web Driver setting / Internet Explorer Web ドライバ設定
  1. Precondition / 前提 repository already cloned to `C:\work` リポジトリC:\work 配下にクローン済み
  2. move dirctory / ディレクトリ移動
            
              $ cd C:\work\\node_modules/protractor/bin/
            
          
  3. command excute. (IEDriver update) / コマンド実行 (IEDriver アップデート)
            
              $ ./webdriver-manager update --ie
            
          
  4. For your reference / 参考文献
    1. with protractor how to setup internet explorer configuration?
Protractor setting / Protractor 設定
  1. script add to package.json / package.json に script を追加
            
                example / 実装例
                "scenario": "ng e2e -c protractor.conf.js",
                "scenario:ie": "ng e2e -c protractor.ie.conf.js" <== for internet explorer
            
          
  2. create protractor.ie.conf.js. /protractor.ie.conf.js を作成 IEDriver just used an IEDriverServer3.9.0.exe. IEDriver は、 IEDriverServer3.9.0.exe を使用
            
              example / 実装例
              directConnect: false,
              capabilities: {
                'browserName': 'internet explorer',
                'platform': 'ANY',
                'version': '11'
              },
              localSeleniumStandaloneOpts: {
                jvmArgs: [
                  '-Dwebdriver.ie.driver=node_modules/protractor/node_modules/webdriver-manager/selenium/IEDriverServer3.9.0.exe'
                ]
              },
            
          
  3. For your reference / 参考文献
    1. Setting Up the Selenium Server
    2. Karma IE Testing of Polymer Elements with WebDriver
Internet Explorer 11 Click test trouble shooting / Internet Explorer 11 クリックテスト トラブル対応
If you encounter a problem of Internet Explorer 11 click test trouble, Please try the following
Internet Explorer 11 クリックテストトラブルに遭遇したら、以下のことを試して下さい。
  1. edit protractor.ie.conf.js. /protractor.ie.conf.js を編集
            
                example / 実装例
                directConnect: false,
                capabilities: {
                  'browserName': 'internet explorer',
                  'platform': 'ANY',
                  'version': '11',
                  'nativeEvents': false,     <== add parameter
                  'unexpectedAlertBehaviour': 'accept', <== add parameter
                  'ignoreProtectedModeSettings': true, <== add parameter
                  'disable-popup-blocking': true, <== add parameter
                  'enablePersistentHover': true <== add parameter
                },
                localSeleniumStandaloneOpts: {
                    jvmArgs: [
                      '-Dwebdriver.ie.driver=node_modules/protractor/node_modules/webdriver-manager/selenium/IEDriverServer3.9.0.exe'
                    ]
                },
            
          
  2. sample code / サンプルコード
          
            example / 実装例
            import { browser } from 'protractor';
            
            // branch proccessing for each browser
            export class PageOperationHelper {
              private browserNmae: string = null;       
              private BROWSER_NAME_IE = 'internet explorer';
            
              constructor() {
                // when instance created, get browserName.         
                browser.getCapabilities().then((cap) => {
                  this.browserNmae = cap.get('browserName');
                });
              }
              // for click events
              async click(targetSelector) {
                await browser.waitForAngular();         
                if (this.browserNmae === this.BROWSER_NAME_IE) {
                  // for internet explorer 11 code
                  await browser.executeScript('arguments[0].click();', targetSelector.getWebElement());
                } else {
                  // for chrome code
                  await targetSelector.click();
                }
              }
            }
          
        
  3. For your reference / 参考文献
    1. IE11 click trouble #3

Angular Document Transration Begining

Angular ドキュメント翻訳の事始め

この記事は、Angular Advent Calendar 2017の23日目の記事です。
this report is Angular Advent Calendar 2017, day 23.

Angular ドキュメントの翻訳について紹介します。
I will introduce translation of Angular documents.  


まず最初に見る所 / First place to see

angular/angular-ja の README.md を読みましょう。
Let's read README.md of angular / angular-ja.

基本的な事は、全てここに記載されています。
All the basic things are listed here.


実施環境 / Implementation environment
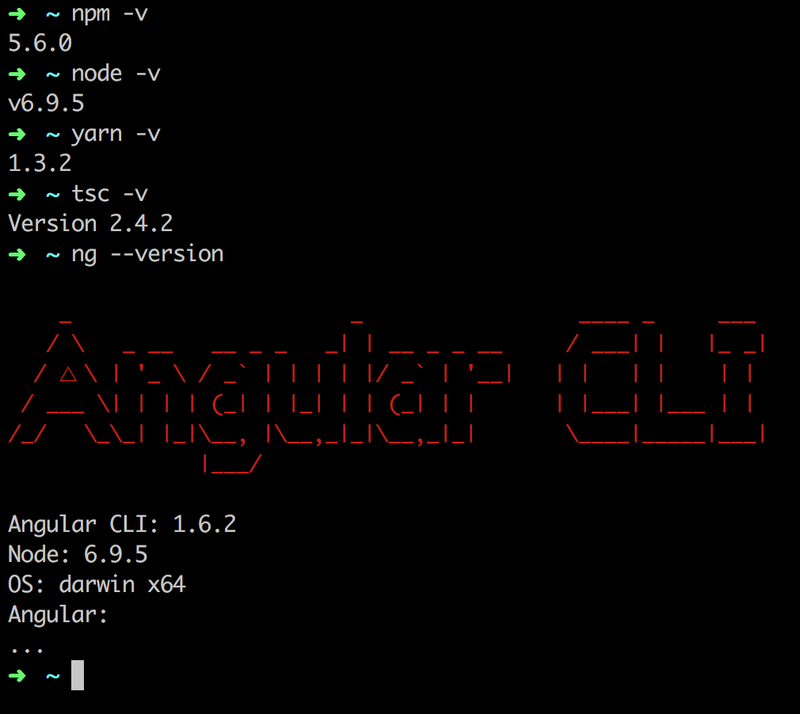
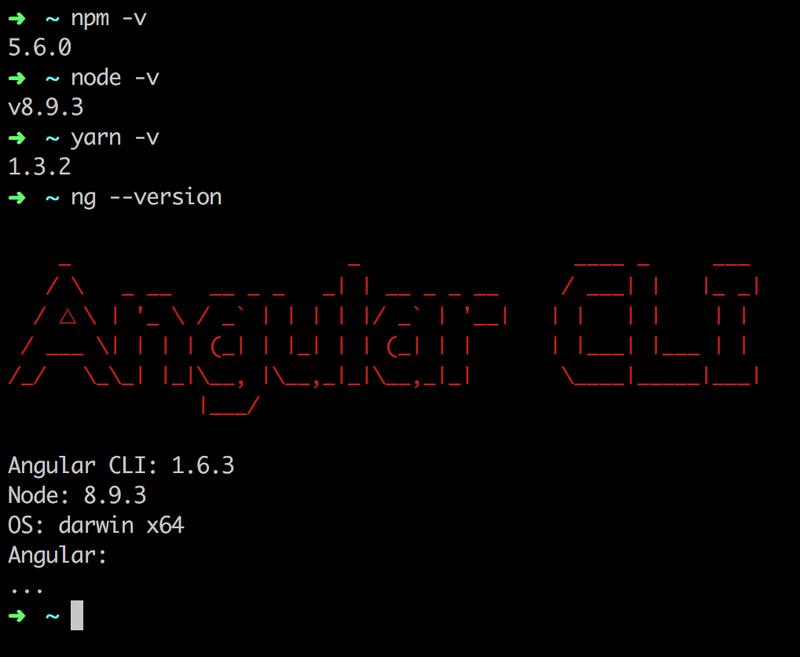
npm, node, yarn, Tyepscript, Angular cli のバージョンは、下記の通りです。
npm, node, yarn, Tyepscript, Angular cli version is following.


セットアップ / Set Up

  1. リポジトリのクローン / clone of repository
        
          ➜  git clone git@github.com:angular/angular-ja.git  # From angular/angular-ja
          or 
          ➜  git clone https://github.com/UserName/angular-ja.git # From Fork repository
        
      
    ※自分は、先にフォークしてからクローンしました。
    ※I first forked and cloned it.
  2. angular/angularリポジトリのダウンロード download of angular/angular repository
  3. npm インストール / npm install
        
          ➜  angular-ja git:(master) ✗ npm i  # npm install


README.md の手順通りです。
※npm インストールを追記しています。 / add steps npm install.


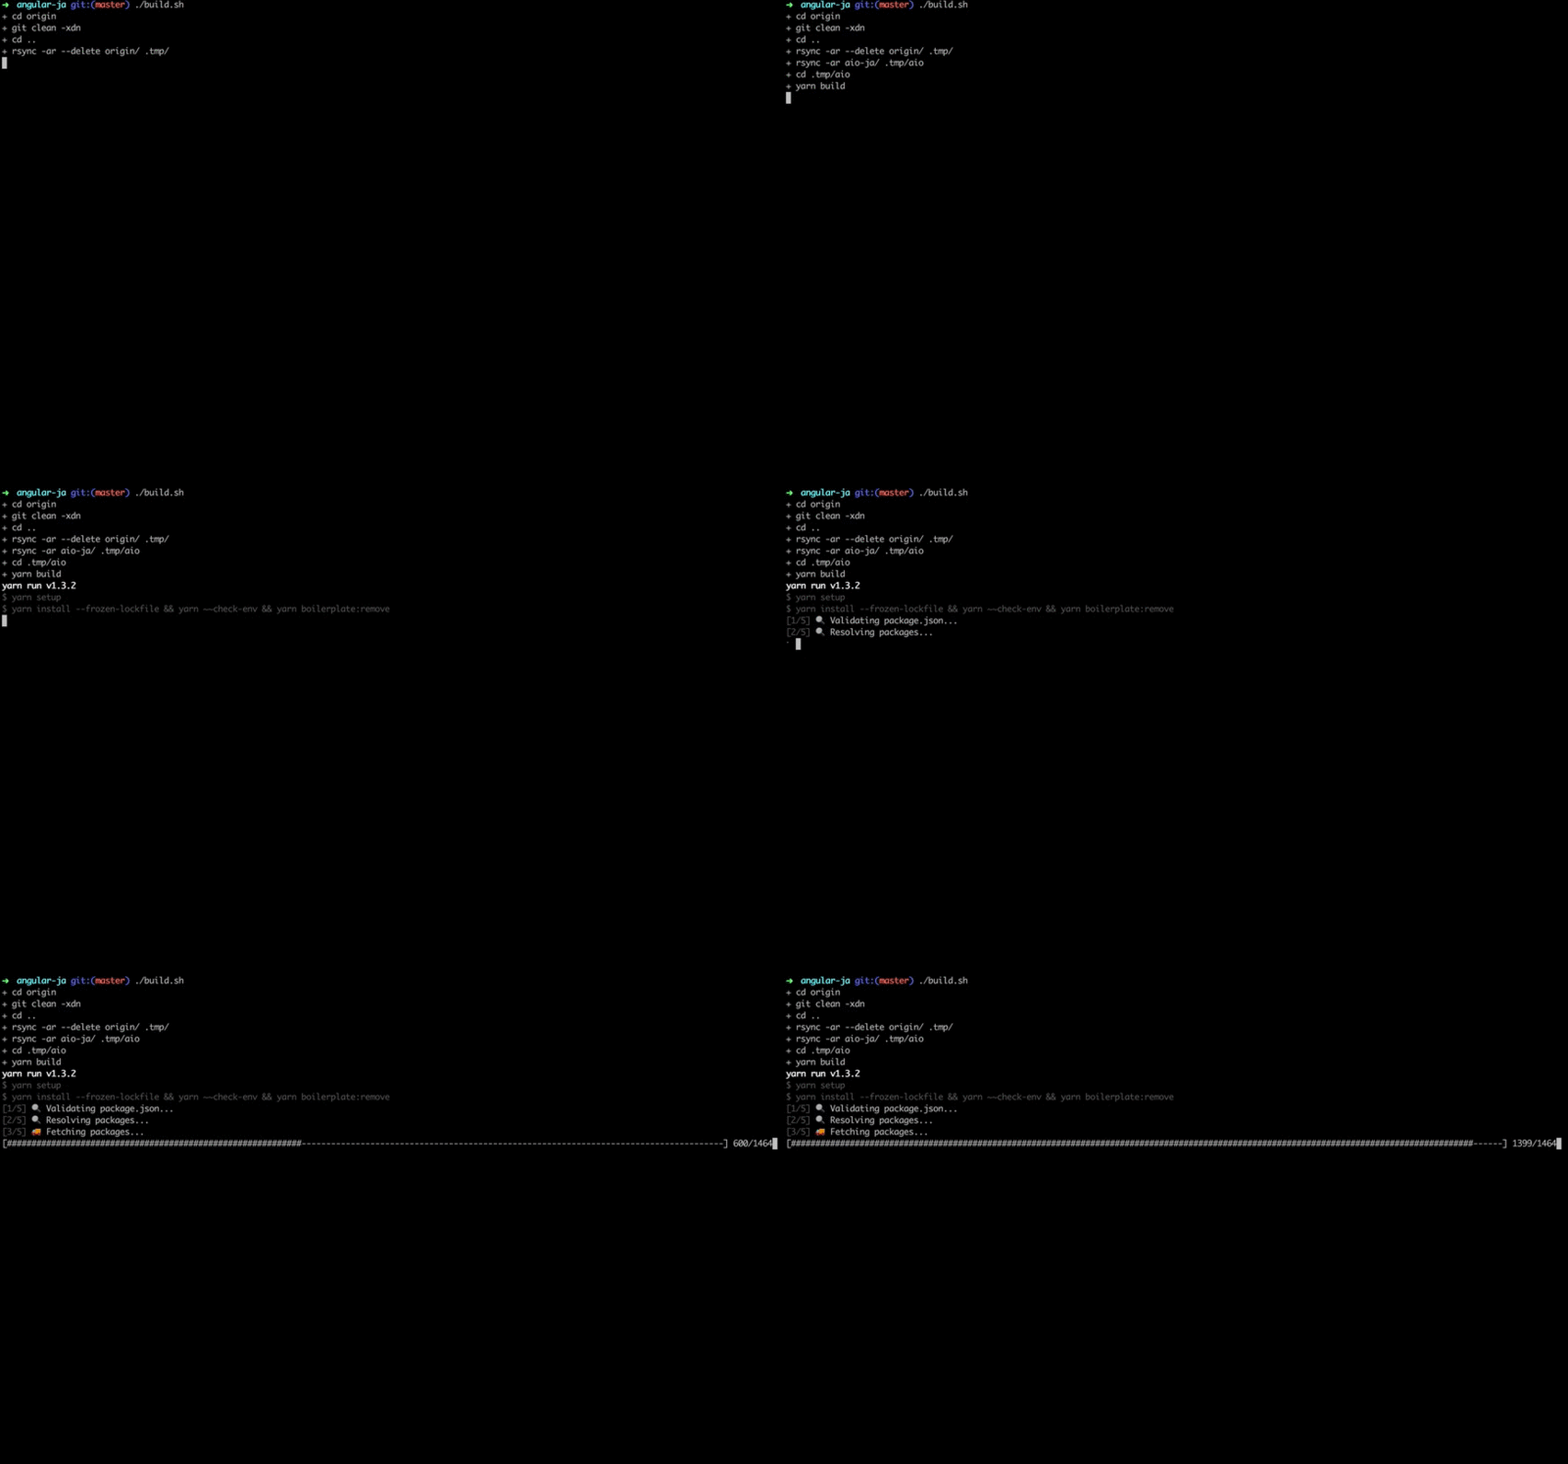
ローカルでのビルド / Local Building

  
    ➜  angular-ja git:(master) ./build.sh


README.md の手順通りです。
※npm インストールを追記しています。 / add steps npm install.


ローカルでのビルドで躓いた事 / point of failed for Local Building

  • node のバージョン / node's version 当初 v8.4.0 でしたが、ビルドする際に、エラーが発生する為、バージョンを v6.9.5 にしました。
    at first v8.4.0, version down to v6.9.5. beacause build error had occured.
  • yarn のバージョン / yarn's version
    yarn のバージョンをv1.3.2にしました。
    yarn のバージョン v1.0.0以下だと、ビルドエラーが発生する為です。
    Because yarn version v1.0.0 or less, a build error had occured.
  • Tyepscript のバージョン / Tyepscript's version
    Tyepscript のバージョンをv2.4.2にしました。 下記警告が、出力されますが問題ありません。
    The following warning is output, but there is no problem.
  • SSHキーに誤りがありました。 / wrong SSH key
    githubSSHキーをさくらVSPサーバーのSSHキーに上書きしていた為、
    下記エラーが発生しました。
    Follwong Error had occured.
    Beacuse SSH key of github had overwite by SSH key of SAKURA VPS Server
          
            ➜  angular-ja git:(master) git submodule update --init
            Submodule 'origin' (git@github.com:angular/angular.git) registered for path 'origin'
            Cloning into '/Users/UserName/work/angular-ja/origin'...
            git@github.com: Permission denied (publickey).
            fatal: Could not read from remote repository.


    Please make sure you have the correct access rights and the repository exists.
    fatal: clone of 'git@github.com:angular/angular.git' into submodule path '/Users/UserName/work/angular-ja/origin' failed


翻訳作業 / Translation Work

  1. 翻訳宣言のイシューを作成する / Creating New Issue
  2. 翻訳で置き換えたいファイルを aio-ja ディレクトリにコピーする Copy the file you want to replace with the translation into the aio-ja directory

    今回の場合は、既に guide/testing.md が aio-ja ディレクトリにありました。
    In this case, you already have guide / testing.md in the aio-ja directory.

  3. 翻訳します / Translate
  4. プルリクエストを作成します / Create Pull Request ※この記事では、プルリクエストを作成していません。
    ※事前にフォークしたリポジトリからプルリクエストしても同じです。


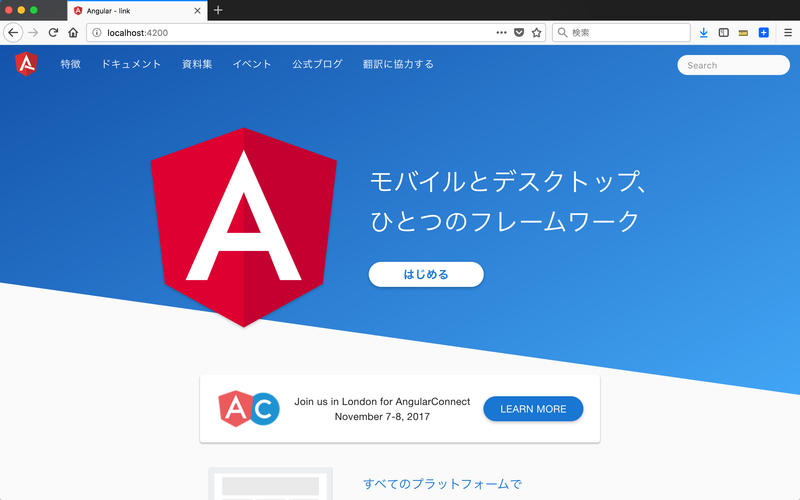
ローカルでの確認 / Local Confirm

  
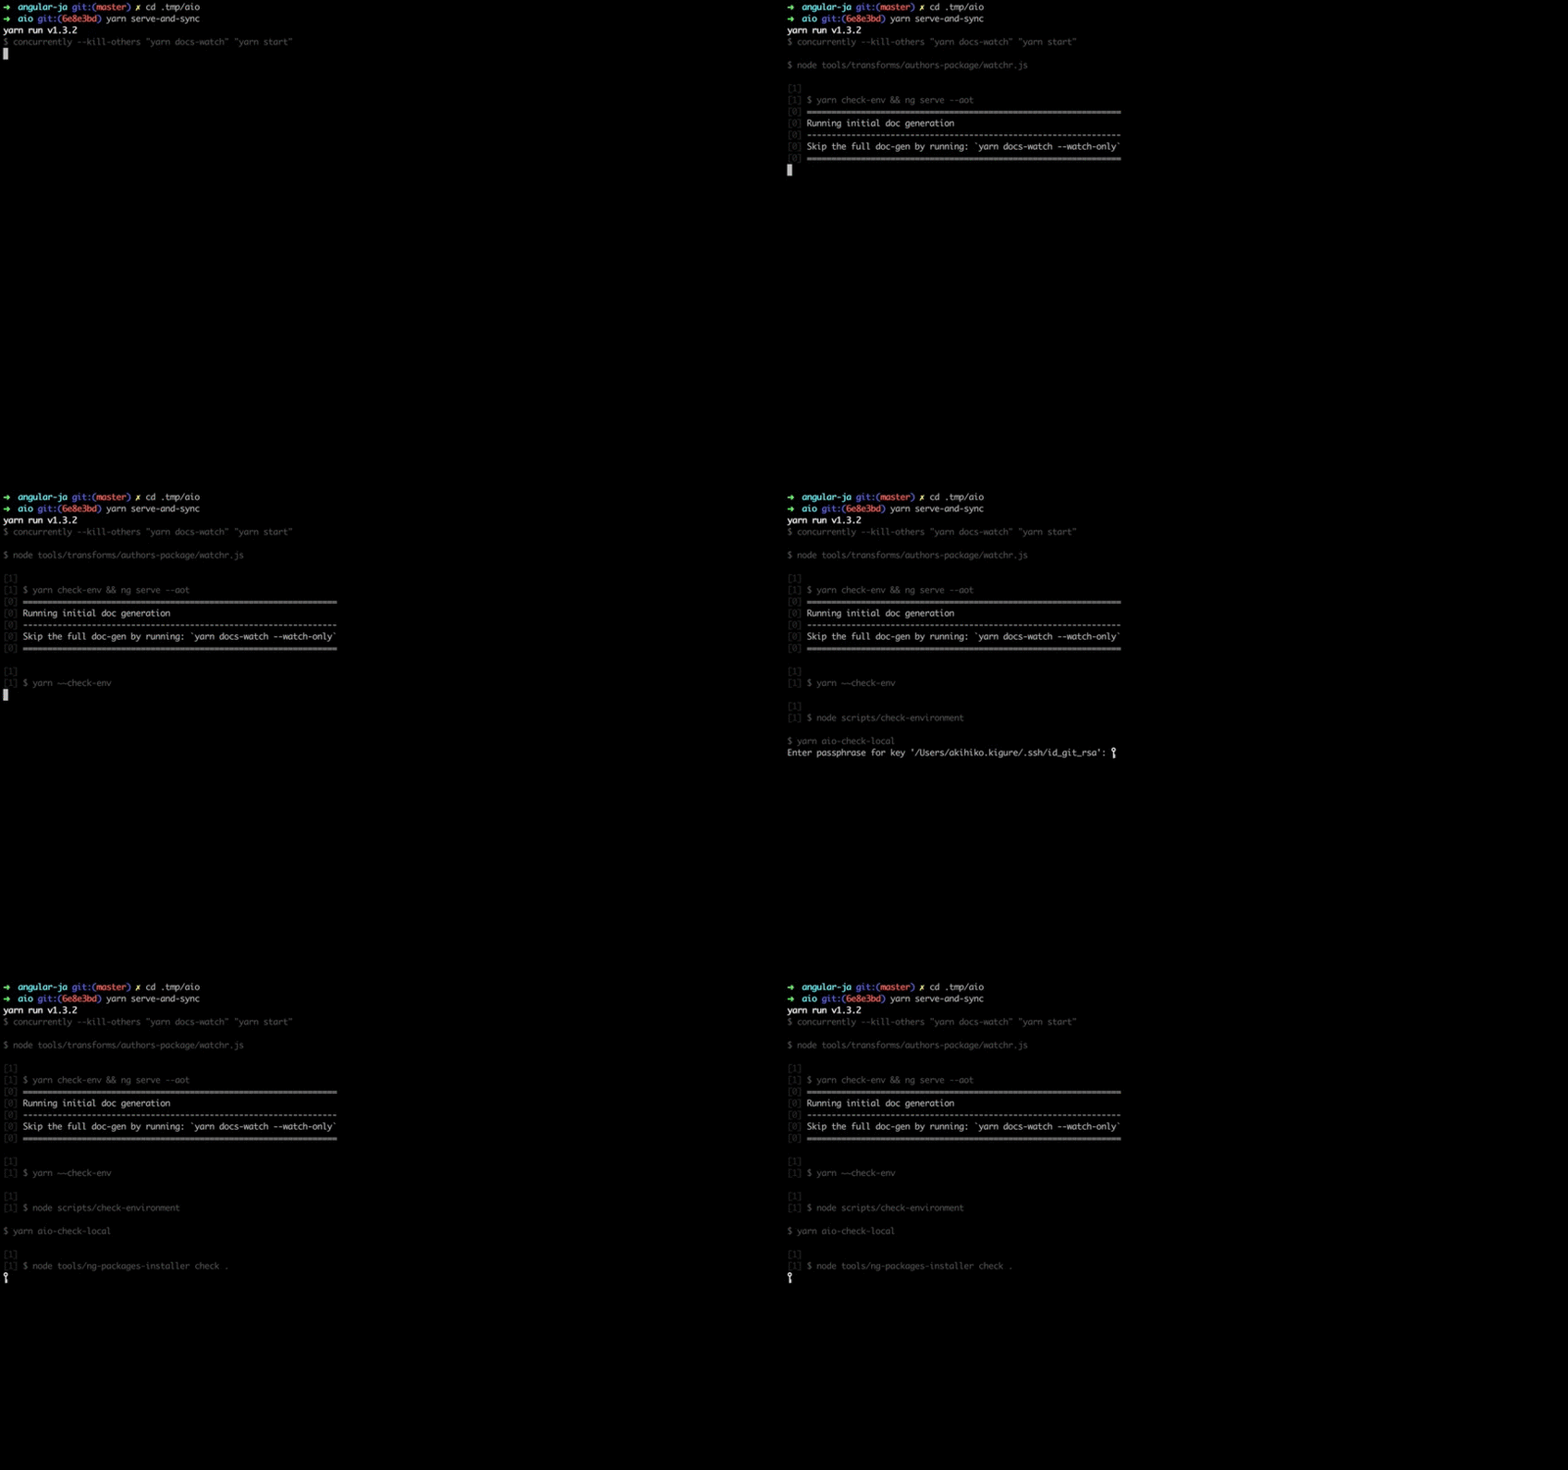
  ➜  angular-ja git:(master) ✗ cd .tmp/aio
  ➜  aio git:(6e8e3bd) yarn serve-and-sync


まとめ / Summary
  今回は主に翻訳に着手するまでの過程で、自分が躓いた点をまとめました。
This time I mainly compiled the points I gained in the process until I started translating.
記事作成中に ng-japan の Slack の #traslation で、こんなポストがありました。
というわけで、慌てずに年末年始で翻訳する準備をしてみては如何でしょうか?
so, What do not you try getting ready to translate?
明日は、 @albatrosary さんです!
Tomorrow is @albatrosary !


追記 / Additional notes
  後日(12/26)に更新のポストが有りました。 There was an update post at (12/26) at a later date. 翻訳環境を更新しました。 I updated the translation environment.  
npm, node, yarn, Tyepscript, Angular cli のバージョンは、下記の通りです。 npm, node, yarn, Tyepscript, Angular cli version is following.

リポジトリの更新は、下記状態になります。 Updating the repository is as follows.


yarn's memo

            yarn のバージョンアップで気付いたので、メモ

As I noticed in version up of yarn


きっかけ / Trigger

yarn の最新バージョンを知ったので、バージョンアップしてみたら、更新されなかった。 Since I knew the latest version of yarn, I did not update it as I upgraded it.

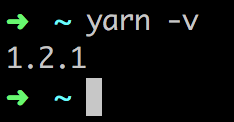
➜ ~ yarn -v

yarn v1.2.1 ==> v1.3.2 になるはずだった It was supposed to be yarn v1.2.1 ==> v1.3.2


試行錯誤 / Trial And Error

➜ ~ npm install yarn -g /Users/Account/.nodebrew/node/v8.4.0/bin/yarnpkg -> /Users/Account/.nodebrew/node/v8.4.0/lib/node_modules/yarn/bin/yarn.js /Users/Account/.nodebrew/node/v8.4.0/bin/yarn -> /Users/Account/.nodebrew/node/v8.4.0/lib/node_modules/yarn/bin/yarn.js + yarn@1.3.2 added 1 package in 1.842s ➜ ~ yarn -v 1.2.1 ➜ ~
バージョンアップされない。 / Not upgraded.
➜ ~ brew uninstall yarn Uninstalling /usr/local/Cellar/yarn/1.3.2... (14 files, 3.9MB) ➜ ~ brew install yarn Updating Homebrew... ==> Downloading https://yarnpkg.com/downloads/1.3.2/yarn-v1.3.2.tar.gz 🍺 /usr/local/Cellar/yarn/1.3.2: 14 files, 3.9MB, built in 1 second ➜ ~
バージョンアップされない。 / Not upgraded.


原因 / Cause

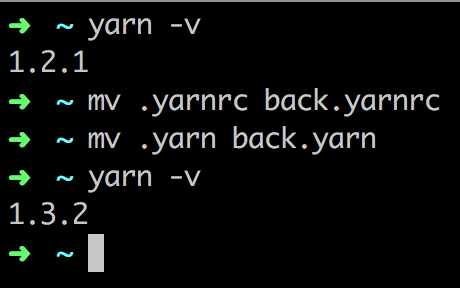
.yarn, .yarnrc が古いバージョンを示していた模様。 It seems that .yarn, .yarnrc indicated the old version.


対策 / CounterPlan

➜ ~ mv .yarn back.yarn ➜ ~ mv .yarnrc back.yarnrc

上記コマンド実行後、確認したら直った。 After execution of the above command, I fixed it after confirming it.


Comparing browser performance on my PC

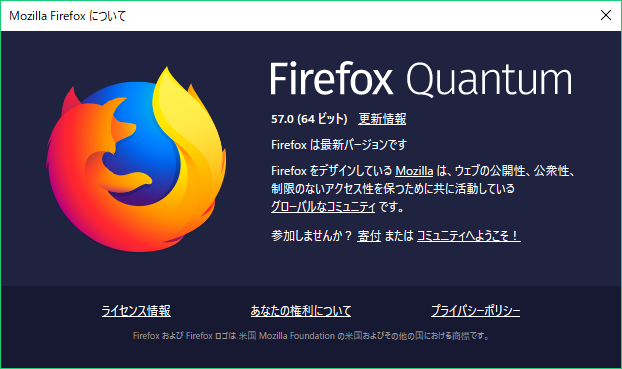
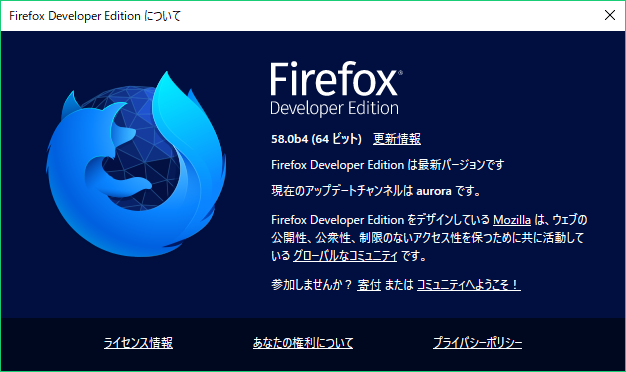
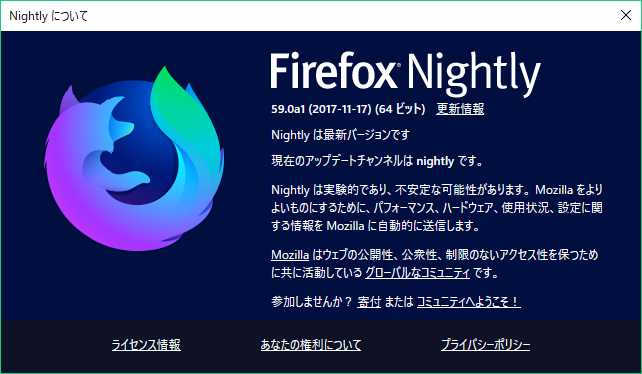
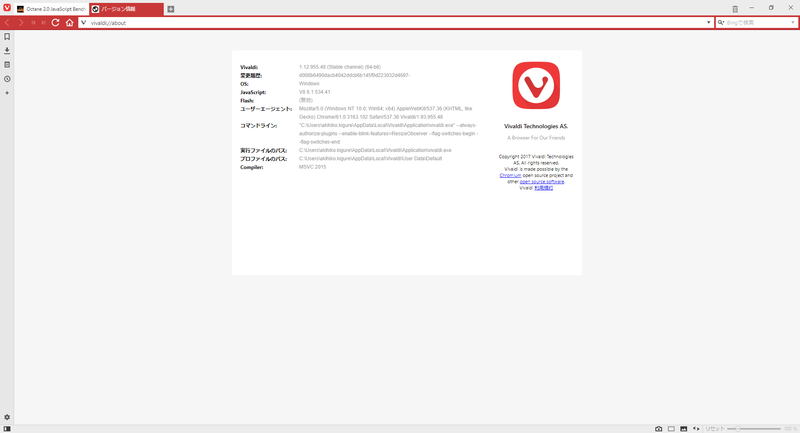
            Firefox Quantum がリリースされたので、また恒例のパフォーマンスチェックをしようと思います。

Since the Firefox Quantum has been released, I will also do an annual performance check.


any browser history / 各ブラウザのまとめ
  もう一度、レンダリングエンジンとか気になったので、興味のある範囲で表にまとめてみました。
Again, since I became concerned with the rendering engine, I tried putting it in a table in the area of interest.
歴史的なものは、こちらを参照「Webブラウザの歴史 - フォクすけの Firefox 情報局
Historical ones, see here "History of Web Browser - Fokusuke Firefox Information Office"  

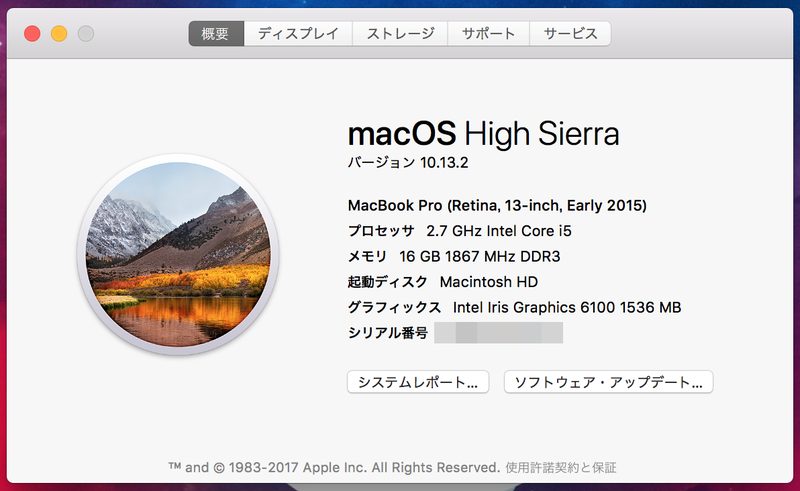
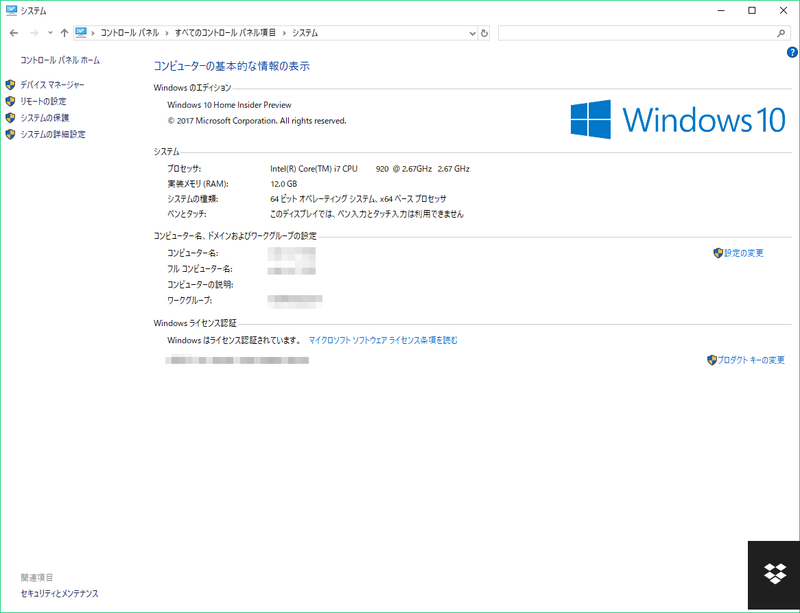
PC specs / パソコンのスペック
  1. case macOS / macOS の場合
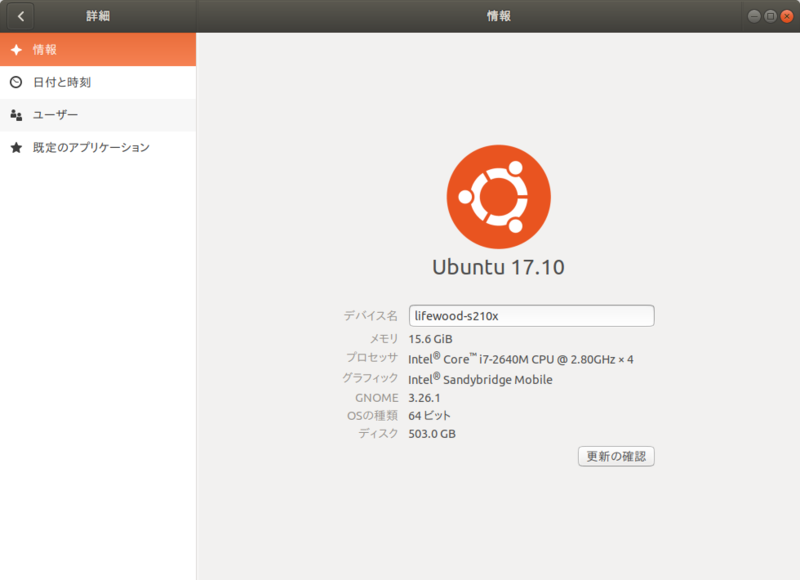
  2. case Ubuntu 17.10 / Ubuntu 17.10 の場合
  3. case Windows 10 / Windows 10 の場合
 

macOS bench score / macOS での各ブラウザのベンチスコア
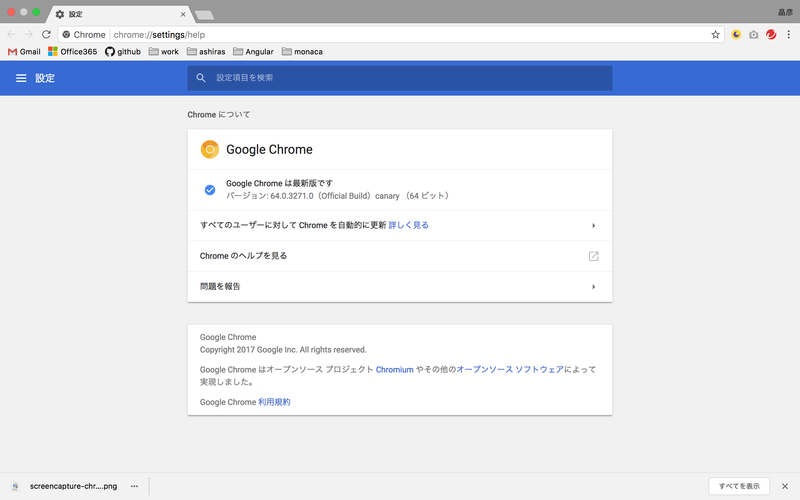
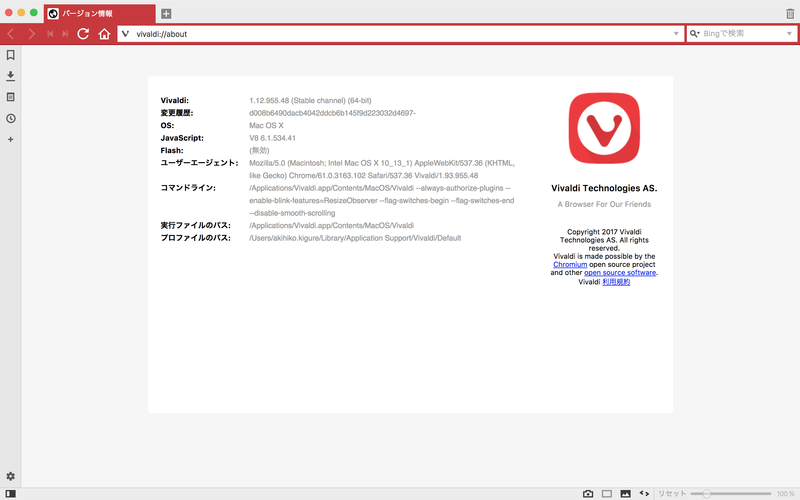
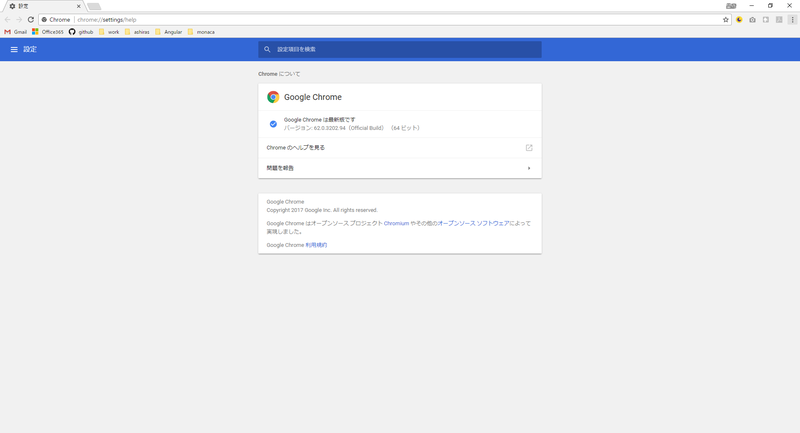
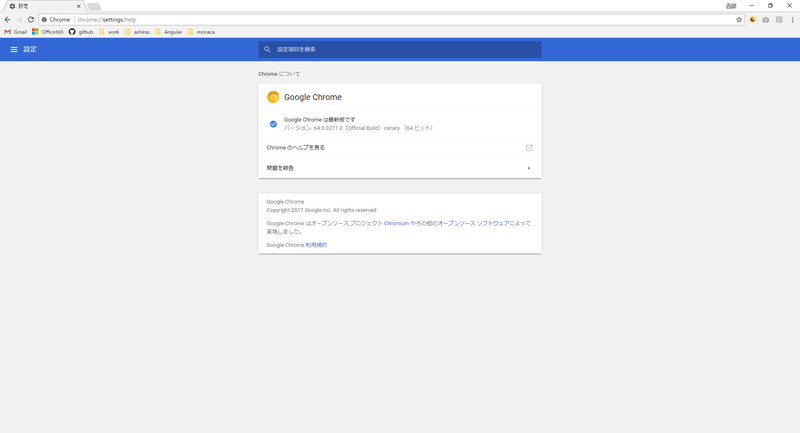
  Browser Version / ブラウザバージョン case Chrome / Chrome の場合

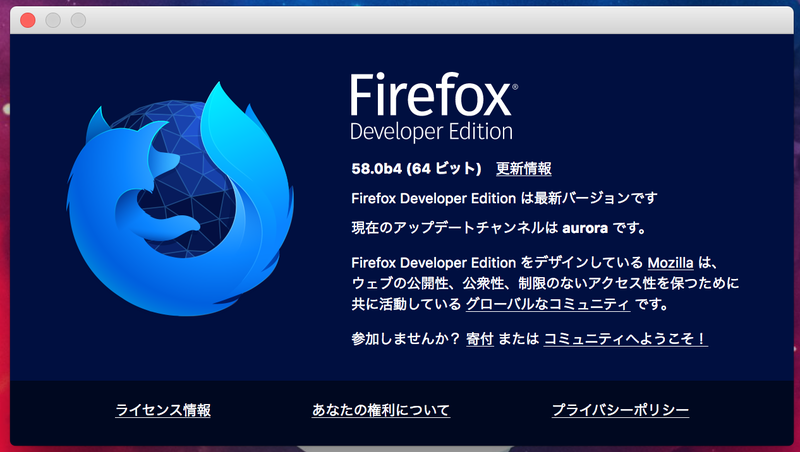
case Firefox / Firefox の場合

case Kinza / Kinza の場合

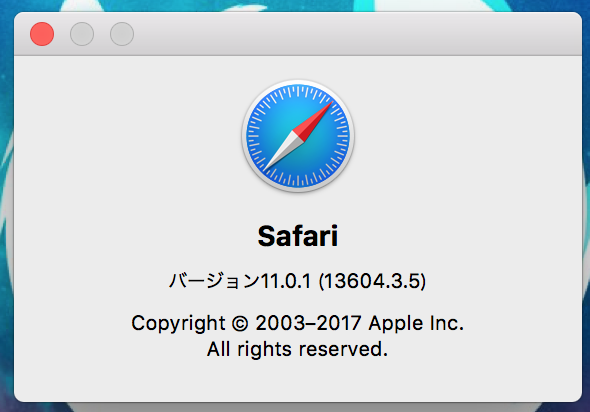
case Safari / Safari の場合

case Vivaldi / Vivaldi の場合

mac's bench score / mac での各ブラウザのベンチスコア

  1. case Chrome / Chrome の場合

  2. case Firefox / Firefox の場合

  3. case Kinza / Kinza の場合
  4. case Safari / Safari の場合

  5. case Vivaldi / Vivaldi の場合


Ubuntu 17.10's bench score / Ubuntu 17.10 での各ブラウザのベンチスコア
  Browser Version / ブラウザバージョン case Chrome / Chrome の場合 case Firefox / Firefox の場合

case Vivaldi / Vivaldi の場合

Ubuntu 17.10's bench score / Ubuntu 17.10 での各ブラウザのベンチスコア

  1. case Chrome / Chrome の場合
  2. case Firefox / Firefox の場合

  3. case Vivaldi / Vivaldi の場合


Windows 10's bench score / Windows 10 での各ブラウザのベンチスコア
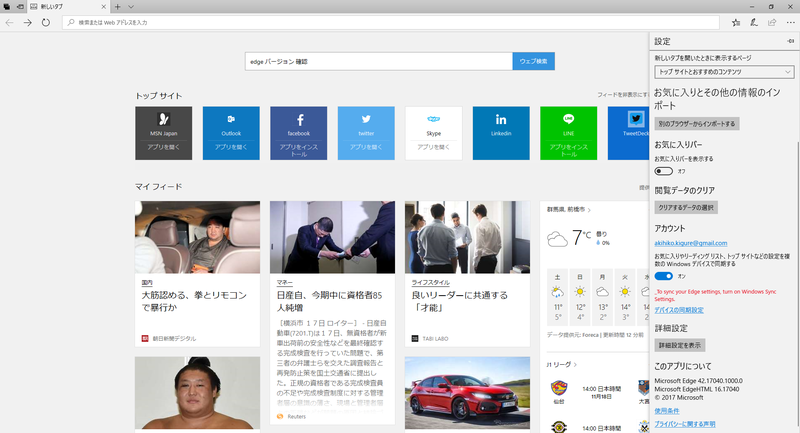
  Browser Version / ブラウザバージョン case Chrome / Chrome の場合

case edge / edge の場合 case IE11 / IE11 の場合 case Firefox / Firefox の場合

case Kinza / Kinza の場合 case Vivaldi / Vivaldi の場合

Windows 10's bench score / Windows 10 での各ブラウザのベンチスコア

  1. case Chrome / Chrome の場合

  2. case edge / edge の場合
  3. case Firefox / Firefox の場合

  4. case IE11 / IE11 の場合
  5. case Kinza / Kinza の場合
  6. case Vivaldi / Vivaldi の場合


まとめ
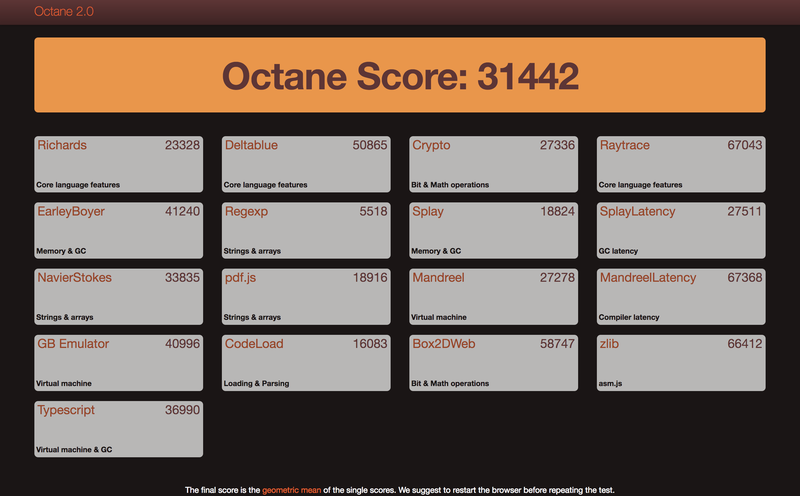
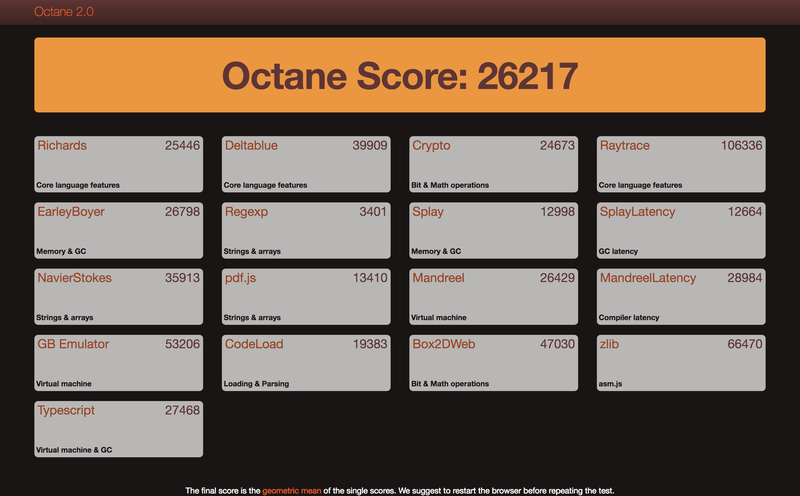
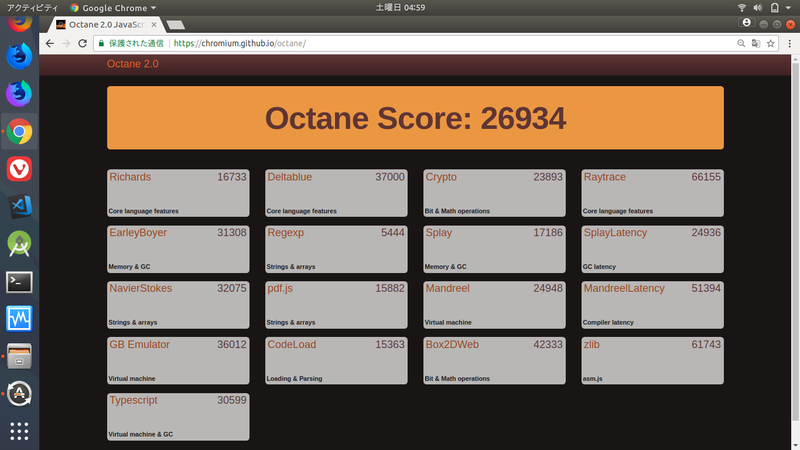
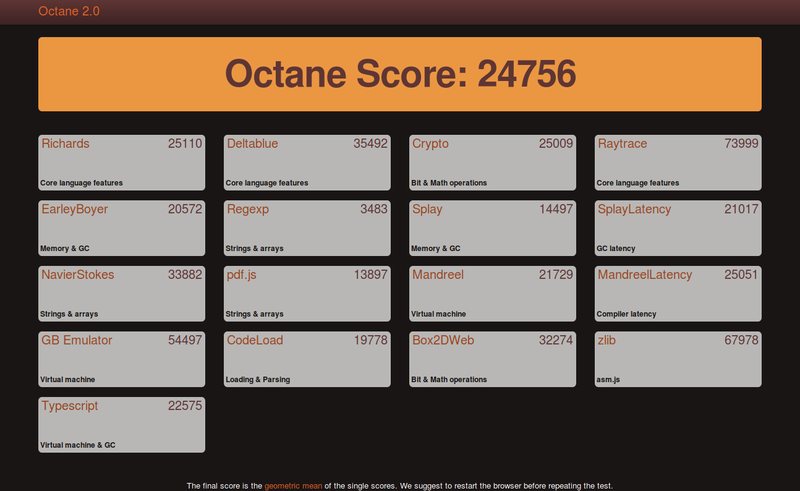
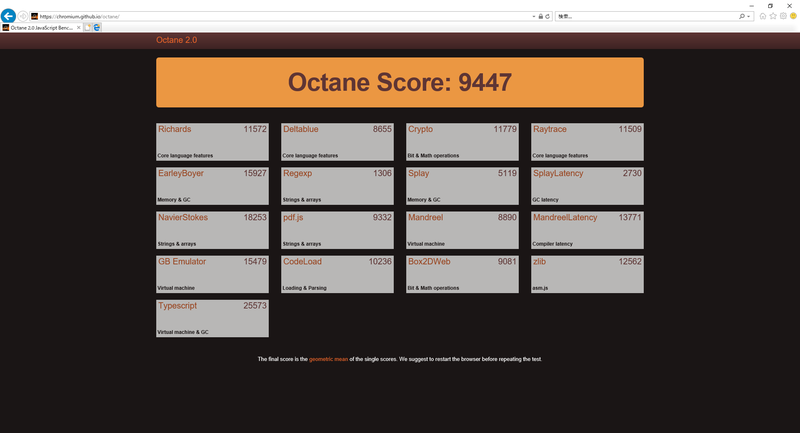
  測定した結果、下記の通りになりました。 以前測定に使っていた OORTONLINE.GL が使えなくなったのは残念です
As a result of the measurement, it became as follows.
It is a pity that OORTONLINE.GL used for measurement was no longer usable
 
Ubuntu 17.10
Windows 10
27654
26934
17351
Chrome Canary
31442
18640
edge
17086
26217
24269
18351
Firefox Developer Edition
26850
24269
18289
Firefox Nightly
25574
24756
17307
IE11
9447
Kinza
29703
16679
29281
Safari Technology Preview
31359
27210
25065
15914
  あくまでも自分所有マシンの環境ですので、他の PC や OS では、また別の結果が出ると思います。
Myself am the environment of the property machine to the end, so I think the different result is in again by other PC and OS.

benchmarck site list / 評価サイト一覧 「Windows 10」向け最強ブラウザ決定戦--各ベンチマークの結果は? より引用


Hacking a valence.xpi - Prologue

            <div class="headline-m">目次</div>


きっかけ / Trigger

CHRIMEN Open Hardware コミュニティの活動で、B2G OS 向けの開発ツール WebIDE での開発に支障が出ることに気が付きました。
In the activities of the CHRIMEN Open Hardware community, I noticed that development with WebIIDE, a development tool for B2G OS, was hindered.
具体的には、下記操作ができなくなっていました。

  • プロジェクト作成後、プロジェクトツリーが、見れなくなっている
    After creating the project, the project tree can not be seen
  • B2G OS へアプリをインストール出来なくなっている
    You can not install applications to B2G OS

Firefox ver.55以降で、使用できなくなっているようです。
調べた所、下記情報が見つかりました。
It seems that it can not be used with Firefox ver.55 or later.
After examining, the following information was found.

Remove WebIDE https://bugzilla.mozilla.org/show_bug.cgi?id=1314811
WebIDE project tree and Edit area didn't display. https://bugzilla.mozilla.org/show_bug.cgi?id=1391641
対応策ですが、下記の通りです。


目的 / Purpose

このブログでは、下記項目を目的にハックしていきます。
In this blog, I will hack for the following items.

  • valence.xpiの仕組みを知ること
    Knowing the mechanism of valence.xpi
  • WebIDEの後継の拡張Extensionの作成
    Creation of extended extension for successor to WebIDE

valence.xpi は、下記リンクからダウンロード出来ます。
valence.xpi will be able to Download following links.
linux64:http://archive.mozilla.org/pub/labs/valence/linux64/
ma64:http://archive.mozilla.org/pub/labs/valence/mac64/
win32:http://archive.mozilla.org/pub/labs/valence/win32/


githubリポジトリは、こちらです。
The repository of github is here.
https://github.com/mozilla/valence


ハックしている時のバージョンは、 0.3.8 です。
The version when hacking is 0.3.8.


Folder Compose / フォルダ構成

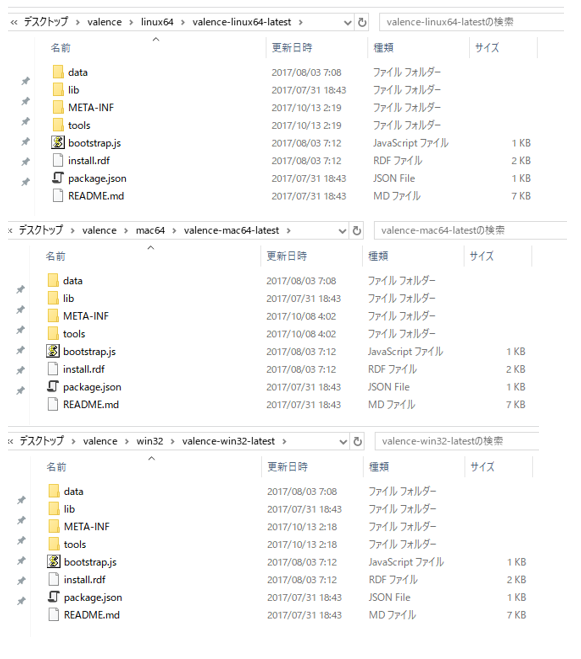
valence.xpi ファイル を解凍したフォルダ構成は、下図のとおりです。
The configuration of the folder that unzipped the valence.xpi file is shown below.
各 OS とも同じフォルダ構成です。
Each OS has the same folder Compose.


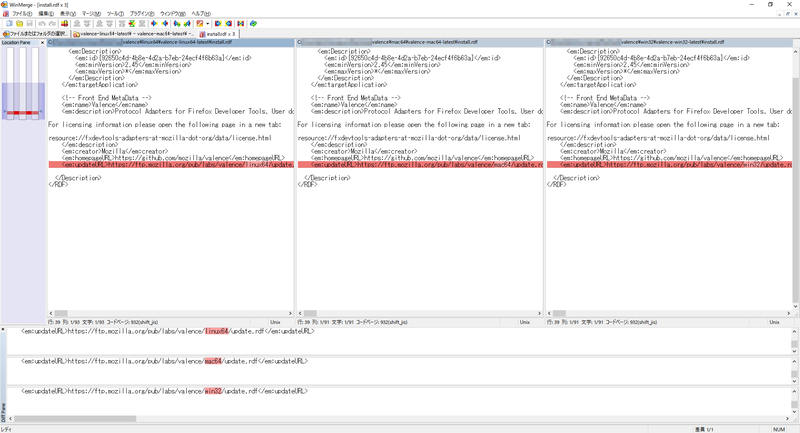
差分を掛けてみた所、install.rdf ファイルの URI が、 OS 毎に異なっていました。
次回は、各ファイルはディレクトリ別にハックしていきたいと思います。
When I multiplied the difference, the URI of the install.rdf file was different for each OS.
Next time, I would like to hack each file by directory.


Correspondence for Windows10 Upgrade Error tips

            Correspondence for Windows10 Upgrade Error tips / Windows10 アップグレードエラー時の tips
Index / 目次
a Trigger / きっかけ
  when Windows10 Insider Preview upgrade failed on Build 16215 to 16223, because i wirte memo.
Windows10 Insider Preview のアップグレード ビルド 16215 から 16223 へ失敗をしたので、メモ。


The cause / 原因
  upgrade failed on Build 16215 to 16223 several times, i'll ckeck it.
ビルド 16215 から 16223 へ数回に失敗したので、調べてみることに。

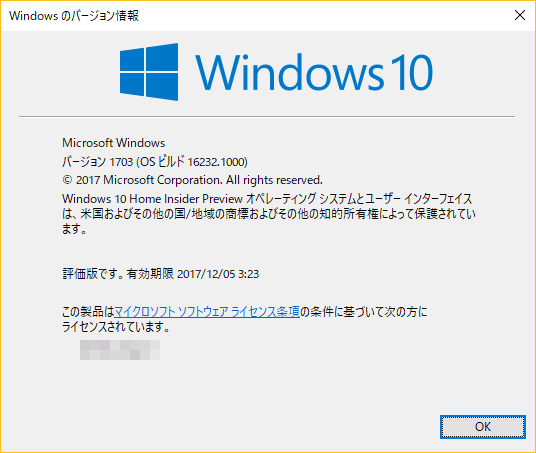
i had finded error No 0x80073712 .
エラー番号 0x80073712を見つけました。

may be system file damage.
おそらくシステムファイルが破損しているようです。


a resolve / 解決
  Following correspondence was done.
下記対応をしました。
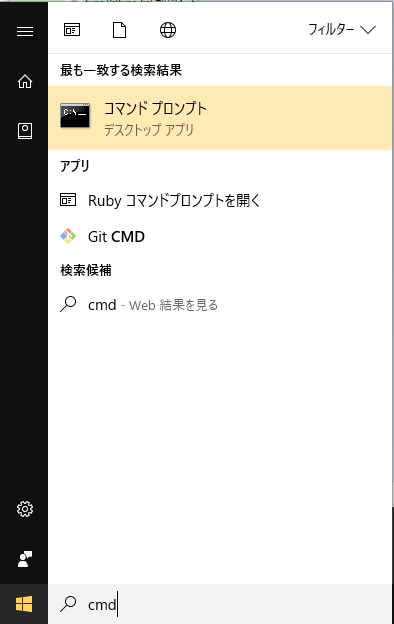
type cmd in cortana area.
コルタの入力欄に「cmd」と入力


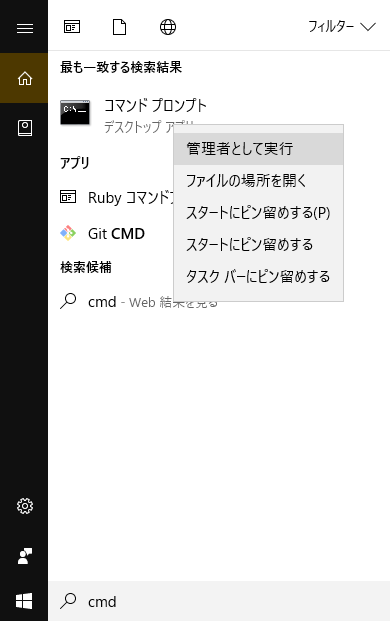
excute command prompt administrator mode.
コマンドプロンプトを管理者権限で実行


type [DISM.exe /Online /Cleanup-image /Restorehealth, press enter key.
「DISM.exe /Online /Cleanup-image /Restorehealth」と入力し、Enter キーを押します。
  
    Microsoft Windows [Version 10.0.16232.1000]
    (c) 2017 Microsoft Corporation. All rights reserved.

    C:\WINDOWS\system32>DISM.exe /Online /Cleanup-image /Restorehealth
  
just in case, A cleanup of a disk => A cleanup of a system is performed.
念の為、ディスクのクリーンアップ => システムのクリーンアップを行います
The place upgraded once again has been normally ended safely.
再度アップグレードを実施した所、無事正常終了しました。

Just Build 16232.
ビルド 16232 になりました。